Panic

Panic Blog

From the desk of
Wade
Engineering Dept.

iTunes 11 and Colors

iTunes 11 is a radical departure from previous versions and nothing illustrates this more than the new album display mode. The headlining feature of this display is the new view style that visually matches the track listing to the album’s cover art. The result is an attractive display of textual information that seamlessly integrates with the album’s artwork.

After using iTunes for a day I wondered just how hard it would be to mimic this functionality — use a source image to create a themed image/text display.

The first step in replicating iTunes theming is obvious: getting the background color used for the track listing. This seemed easy enough, just use simple color frequency to determine the most prevalent color along the left hand side of the artwork. Doing a simple color count gives pretty good results, but looking at iTunes it was clear there was more to it than just that. I proceeded to add a bit of logic to add preference for colored backgrounds instead of just using black and white when those were the most prevalent colors. Doing this presents more interesting styles since seeing only black and white backgrounds would be a bit boring. Of course you don’t want to replace black or white if those colors really are dominant, so I made sure that the fallback color was at least 30% as common as the default black or white.

Once I started filtering black and white backgrounds my results started to get a bit closer to iTunes. After doing some more analysis I saw that iTunes also looks for borders around the artwork. So lets say you have a solid white border around the artwork picture, iTunes will remove the border and base its theming colors off the remaining interior content. I didn’t add this functionality as it was outside the scope of my simple demo application.

After the background color was determined, the next step is to find contrasting text colors. Again, the first thing I tried was simple color counting, this provides surprisingly good results but iTunes does better. If we relied only on color frequency you’d get variants of the same color for the different types of text (EG: primary, secondary, detail). So the next thing I did to improve the results were to make sure the text colors were distinct enough from each other to be considered a separate color. At this point things were really starting to look good. But what other aspects would need to be considered to ensure the text always looked good on the chosen background color? To ensure colorful text I also added a bit of code to make sure the color used for the text had a minimum saturation level. This prevents washed out colors or very light pastel colors from being used that might not give the best appearance. Now that the text had unique colors that looked good with the background, the only remaining problem was that the resulting text colors could end up lacking enough contrast with the background to be readable. So the last thing I added was a check to make sure any text color would provide enough contrast with the background to be readable. Unfortunately this requirement does cause a rare “miss” when finding text colors which then cause the default black/white colors to be used.

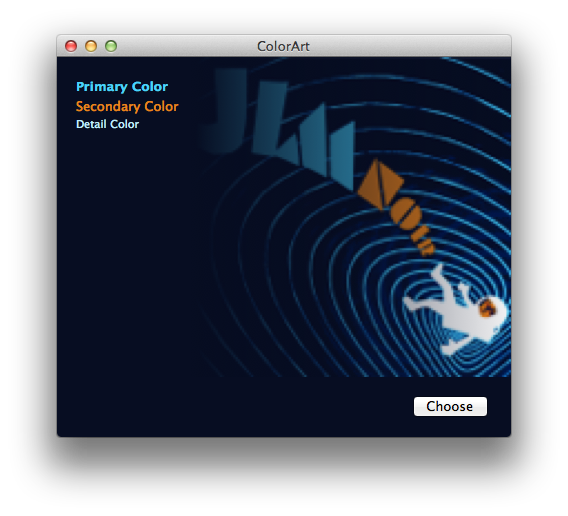
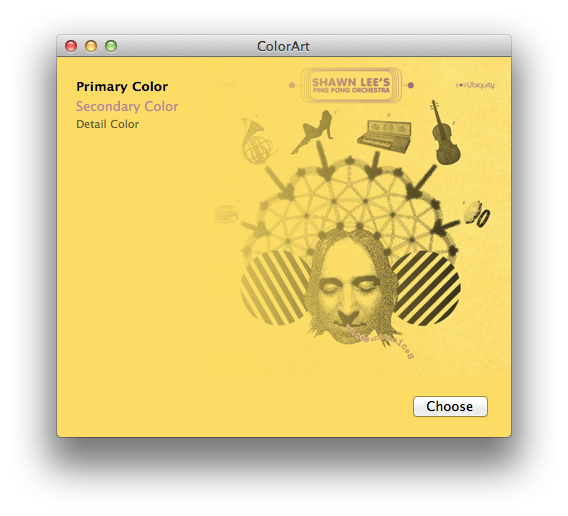
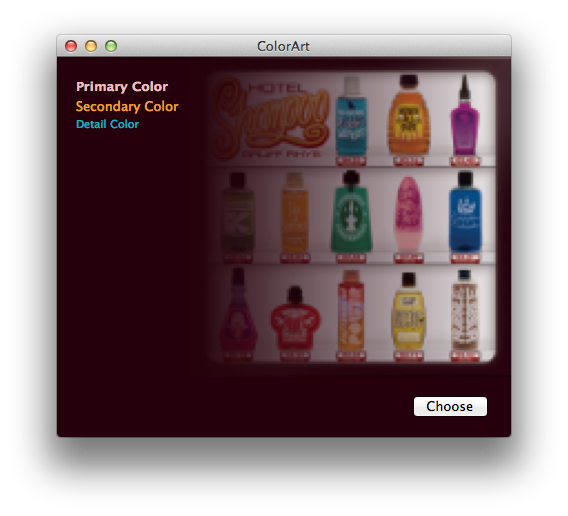
The end result looks something like this:
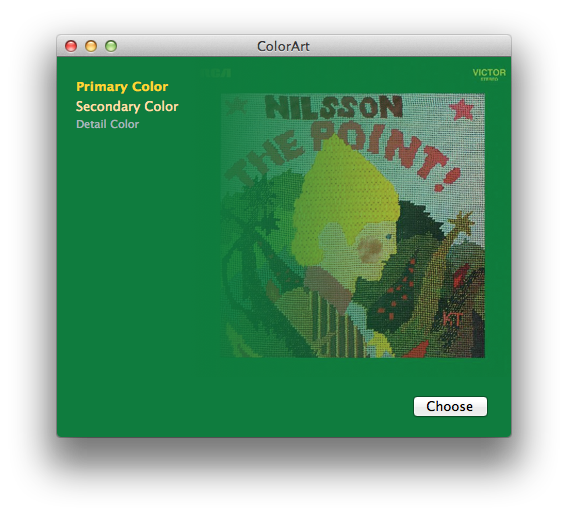
It’s not 100% identical to iTunes — sometimes it’s better! Sometimes just different — but it works pretty well overall.

You can see exactly what I did in the following Xcode demo project:


A few notes about this demo. I did very basic frequency filtering to prevent random colors from appearing as text colors. In my case I chose to ignore colors that only appear once. This threshold should be based on your input image size since smaller images won’t have as many pixels to sample from. Another processing technique that iTunes does, that I would also do if this were shipping code, is to look for compression fringing around the edges of the image. I’ve noticed a few cover art images that contain a single pixel edge of white/gray fringe that should be ignored and removed before sampling for the colors.

(Last but not least, this code was written in a few hours, and is very rough. So just in case you have thoughts about speed or optimizations, please note it was more of a thought exercise than a lesson in algorithm design. Engineer disclaimer complete.)

That being said, I hope this is somewhat interesting! It shows that with just a bit of work you too can have fancy themed designs too.

UPDATE: Thanks to Aaron Brethorst, this code is also now on GitHub.
Posted at 10:55 am 60 Comments

Coda 2.0.7 Beta 1, Cabel

December 4th, 2012

It’s minor, but we thought our deepest Coda fans could give Coda 2.0.7 a whirl.

If you’re interested, grab Coda 2.0.7b1 here (51MB).

UPDATE 12/10: The beta has ended. The app has been released for direct customers and submitted to Apple.

Notable changes: improved stability and syntax highlighting performance.

If you find issues, promptly report them thoroughly via Hive!

PS: We also recently solicited, via Twitter, testers for Transmit w/iCloud and Dropbox Favorites Sync (coming soon!), and a new Panic iPad app that’s all about Status. You should follow us!

Posted at 3:17 pm 6 Comments

From the desk of
logan
Engineering Dept.

Fun with Face Detection

Let’s face it (sorry): face detection is cool. It was a big deal when iPhoto added Faces support — the ability to automatically tag your photos with the names of your friends and family adds a personal touch. And Photo Booth and iChat gained some awesome new effects in OS X Lion that can automatically track faces in the frame to add spinning birds and lovestruck hearts and so on. While not always productively useful, face detection is a fun technique.
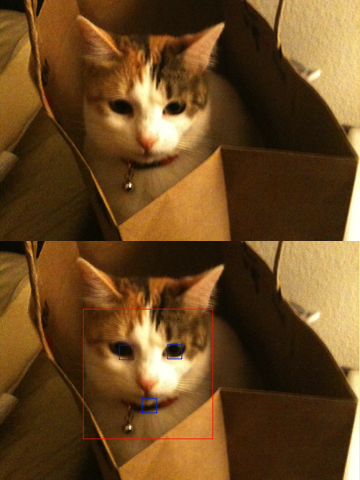
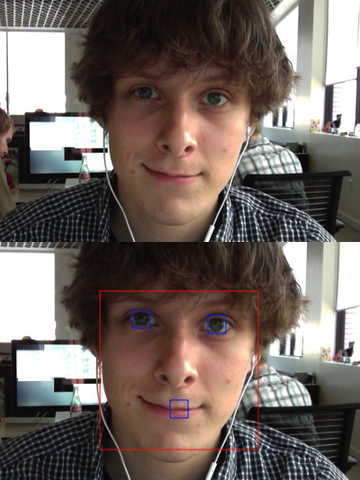
I’ve seen attempts at duplicating Apple’s face detection technology. (Apple is far from the first company to do it.) There are libraries on GitHub and various blog posts for doing so. But recently I realized that Apple added support for face detection in OS X Lion and iOS 5. It seemed to slip under my radar of new shiny things. Developers now have a direct link to this powerful technology on both platforms right out of the proverbial box.

Using Face Detection through Core Image

Apple’s face detection is exposed through Core Image, the super-useful image manipulation library. Two classes are important: CIDetector and CIFeature (along with its subclass, CIFaceFeature). With a little experimenting one night, I was able to get a sample app detecting faces within a static image in about 10 lines of code:

  1. // Create the image
  2. CIImage *image = [CIImage imageWithContentsOfURL:[NSURL fileURLWithPath:@"Photo.jpg"]];
  3.  
  4. // Create the face detector
  5. NSDictionary *options = [NSDictionary dictionaryWithObjectsAndKeys:CIDetectorAccuracyHigh, CIDetectorAccuracy, nil];
  6.  
  7. CIDetector *faceDetector = [CIDetector detectorOfType:CIDetectorTypeFace context:nil options:options];
  8.  
  9. // Detect the faces
  10. NSArray *faces = [faceDetector featuresInImage:image];
  11.  
  12. NSLog(@"%@", faces);

Note the dictionary of options. There is only one particularly useful key: CIDetectorAccuracy. It has two possible values: CIDetectorAccuracyLow and CIDetectorAccuracyHigh. The only difference: There seems to be additional processing performed on the image in order to detect faces, but at the cost of higher CPU usage and lower performance.

In cases where you are only apply detection to a single static image, high accuracy is best. Low accuracy becomes handy when manipulating many images at once, or applying the detector to a live video stream. You see about a 2-4x improvement in render time with low accuracy, but face tracking might pick up a couple of false-positives in the background once in a while, or be unable to detect a face at an angle away from the camera as well as high accuracy could.

Now that we have an array of faces, we can find out some information about each face within the image. CIFaceFeature exposes several useful properties to determine the bounding rectangle of the face, as well as the position of each eye and the mouth.

Using these metrics, it’s then possible to draw on top of the image to mark each facial feature. What you get is a futuristic sci-fi face tracker ala the Fifth Element. Leeloo Dallas Multipass, anyone?

  1. // Create an NSImage representation of the image
  2. NSImage *drawImage = [[NSImage alloc] initWithSize:NSMakeSize([image extent].size.width, [image extent].size.height)];
  3. [drawImage addRepresentation:[NSCIImageRep imageRepWithCIImage:image]];
  4.  
  5. [drawImage lockFocus];
  6.  
  7. // Iterate the detected faces
  8. for (CIFaceFeature *face in faces) {
  9. // Get the bounding rectangle of the face
  10. CGRect bounds = face.bounds;
  11.  
  12. [[NSColor colorWithCalibratedWhite:1.0 alpha:1.0] set];
  13. [NSBezierPath strokeRect:NSRectFromCGRect(bounds)];
  14.  
  15. // Get the position of facial features
  16. if (face.hasLeftEyePosition) {
  17. CGPoint leftEyePosition = face.leftEyePosition;
  18.  
  19. [[NSColor colorWithCalibratedWhite:1.0 alpha:1.0] set];
  20. [NSBezierPath strokeRect:NSMakeRect(leftEyePosition.x - 10.0, leftEyePosition.y - 10.0, 20.0, 20.0)];
  21. }
  22.  
  23. if (face.hasRightEyePosition) {
  24. CGPoint rightEyePosition = face.rightEyePosition;
  25.  
  26. [[NSColor colorWithCalibratedWhite:1.0 alpha:1.0] set];
  27. [NSBezierPath strokeRect:NSMakeRect(rightEyePosition.x - 10.0, rightEyePosition.y - 10.0, 20.0, 20.0)];
  28. }
  29.  
  30. if (face.hasMouthPosition) {
  31. CGPoint mouthPosition = face.mouthPosition;
  32.  
  33. [[NSColor colorWithCalibratedWhite:1.0 alpha:1.0] set];
  34. [NSBezierPath strokeRect:NSMakeRect(mouthPosition.x - 10.0, mouthPosition.y - 10.0, 20.0, 20.0)];
  35. }
  36. }
  37.  
  38. [drawImage unlockFocus];

With a little more work, it’s pretty easy to apply this technique to live video from the device’s camera using AVFoundation. As you get back frames from AVFoundation, you perform face detection and modify the frame before it is displayed. But I’ll leave that as an activity for the reader. :-)

And amazingly, it even works with cats.

With a little more effort, I was able to grab the closest detected face’s region of the image, and do a simple copy-and-paste onto the other detected faces (adjusting for angle and distance, of course). Behold… Panic’s newest, most terrifying cloning technology!

Here’s a little sample app. Have fun!

Posted at 11:25 am 18 Comments

From the desk of Cabel
Portland, Oregon 97205

App Scams

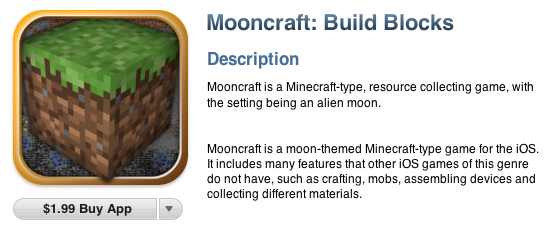
Like Minecraft? Then surely you’ll love Mooncraft!

Except, well, you really won’t. Really:

http://www.youtube.com/watch?v=eqZrBGcsV9Y

What happened here? It’s pretty simple.

1. Scammer makes an extremely simple iOS app and submits it to Apple.

2. Once it’s approved, they change the screenshots, description, and name — things you can edit at any time.  Piggyback off a popular game!

3. Buy hundreds of fake ★★★★★ reviews, somehow.

4. Sit back and relax as you slowly and gently travel towards hell.

This isn’t Apple’s fault, of course — it’s bait-and-switch, the classic inch/mile situation that scammers rely on. How can Apple fix this? Being able to adjust screenshots/descriptions after submitting is important, and we don’t want that to go away. And it’d be unreasonable for Apple to manually review all screenshot changes.

How about this: after an app hits the store, if it has nothing but 1-star reviews (that include text!), and those reviews mention keywords like “scam” a lot, flag it for further inspection?

I bet there’s an algorithm out there that could find these apps pretty quickly.

Either way, Quang Nguyen (which might be a fake name, of course): you’re a terrible person. (Thanks to Steve for missing the tiny popup button and clicking “Buy App” by accident.)

UPDATE 12/10/2012: For a while, Mooncraft was pulled from the store. But, of course, it’s back.

UPDATE 1/10/2013: Apple has announced a new policy that screenshots can only be updated when they accompany a new application binary submitted for review. Hopefully that will put a stop to this particular type of trickery.

Posted at 11:18 am 30 Comments

From the desk of Cabel
Portland, Oregon 97205

VTAC: Enhanced Online Security

A while back, I became obsessed with getting an “Extended Validation” certificate for our website, just so that we can have a little green “Panic Inc” sitting in the address bar.

You know exactly what I’m talking about:

Getting that green rectangle was, put simply, Le Pain Royale. I suppose that’s the point. It also wasn’t cheap.

After hearing me repeatedly complain about the frustrations of getting our Extended Validation certificate, our own Mike Merrill made me a compelling offer.

For the same amount of money I’d spend on an Extended Validation certificate, Mike could provide our customers with a significantly more secure and immutable validation seal, one that would provide true “trust beyond pixels”.

With this idea, VTAC was born.

Art project? Groundbreaking new level of web security? Prank? Your call.

Should you have any doubts about panic.com security, please visit our office and ask to see Mike’s arm.

VTAC seals are now available for qualified third parties. Click here to learn more or request a quote.

Music courtesy 8-Bit Operators. Thanks!
Posted at 3:52 pm 15 Comments